Good morning everyone! I hope your week is going by just super! Nick is super excited that today is early release at school and that he has tomorrow and Friday off. It is Parent/Teacher conference time around here so that is why. I get to meet with his teacher tomorrow. The last one before he heads off to middle school! I hope to get some stamping done. We will see.
I finally had a chance to sit and do a sketch from Mary Jo. I haven't done one in a while and I was glad to get back into it! Here is the sketch she has for us this week:
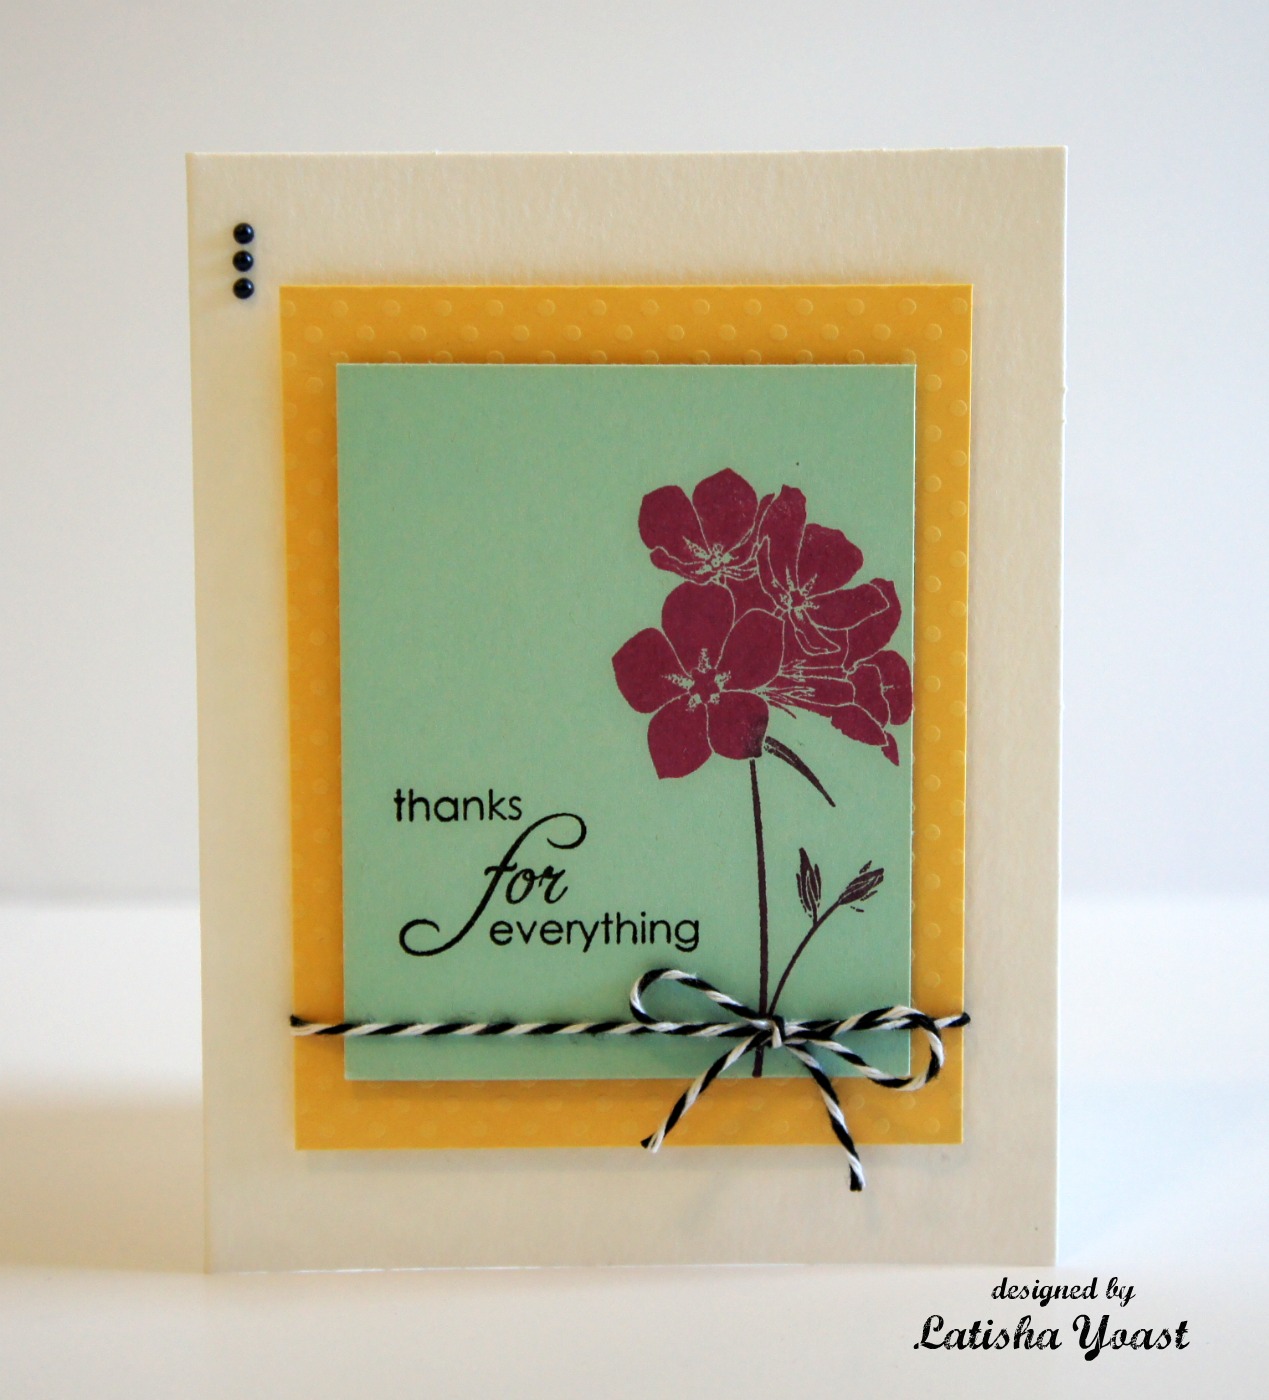
Great, huh!!! And here is what I came up with:
Too fun! I had fun making this card! I am loving these new triple layer punches!! My card base is Pear Pizzazz and my strips are Pear Pizzazz that I sponged with Pear Pizzazz ink. I layered the strips onto another piece of Pear Pizzazz cardstock and ran it through the Big Shot with the Square Lattice embossing folder. Then I wrapped a piece of Poppy Parade ribbon around that and glued it to my card. I used the Bold Blossom set and stamped the flower stems in Pear Pizzazz onto Whisper White cardstock at different heights and then inked just the 'thank you' part in Poppy Parade. This piece is glued down flat. Then I punched three flowers with my new Blossom Bouquet triple layer punch - layer two with So Saffron and layer three with Poppy Parade. I put a So Saffron flower brad in each one and popped them up on my card. The last touches were to add a little white baker's twine and a rhinestone in the centers of the flower brads.
Now, I encourage you to play along with this fun sketch! I have provided the links below for you to just enter your creation from my blog! It is like a little blog hop! I hope to see your creation! Thanks for stopping by!!
Card Recipe: Stamps- Bold Blossom; Paper- Pear Pizzazz, Poppy Parade, So Saffron, Whisper White; Ink- Poppy Parade, Pear Pizzazz; Accessories- Poppy Parade ribbon, white baker's twine, Blossoms Bouquet triple layer punch, flower brads, basic rhinestones, Square Lattice embossing folder, sponge, dimensionals


